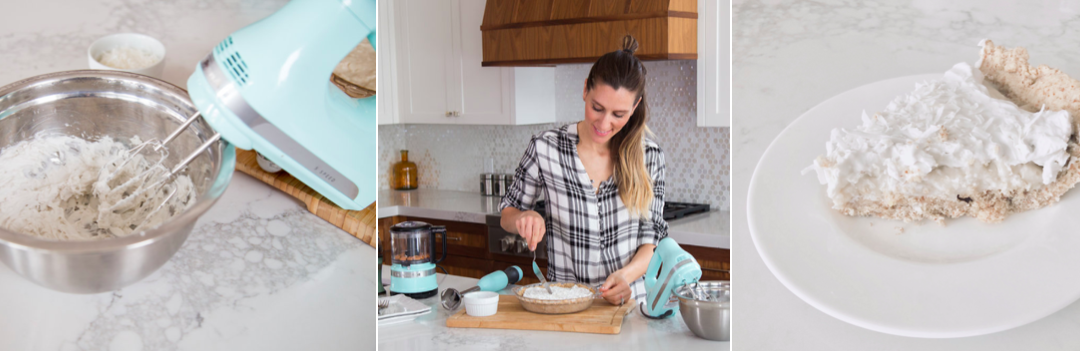
In promotion for TSC’s Healthy Living Campaign, I was gifted 3 small Kitchen Aid Appliances and asked to create one recipe that requires the use of all three! The appliances used are the mini 3.5 cup chopper, the hand-blender and the hand-mixer. Upon receiving the appliances I noticed that they were not heavy nor bulky. They were easy to put together, easy to use and easy to clean! Lastly, they come in so many colour variations …the pastel blue is my favourite!
If you’re looking for a less-bulky, smaller version of both the large Kitchen Aid food-processor or mixer, the mini-chopper and hand-mixer are really great alternatives. If you have little ones, hand-blenders are great to have around especially if you’re constantly pureeing food. I also love them for soups and smoothies of course. All three items can be easily integrated for everyday use.
Here is a link to the products page:
https://www.theshoppingchannel.com/pages/productresults?nav=N:101075&rd=1
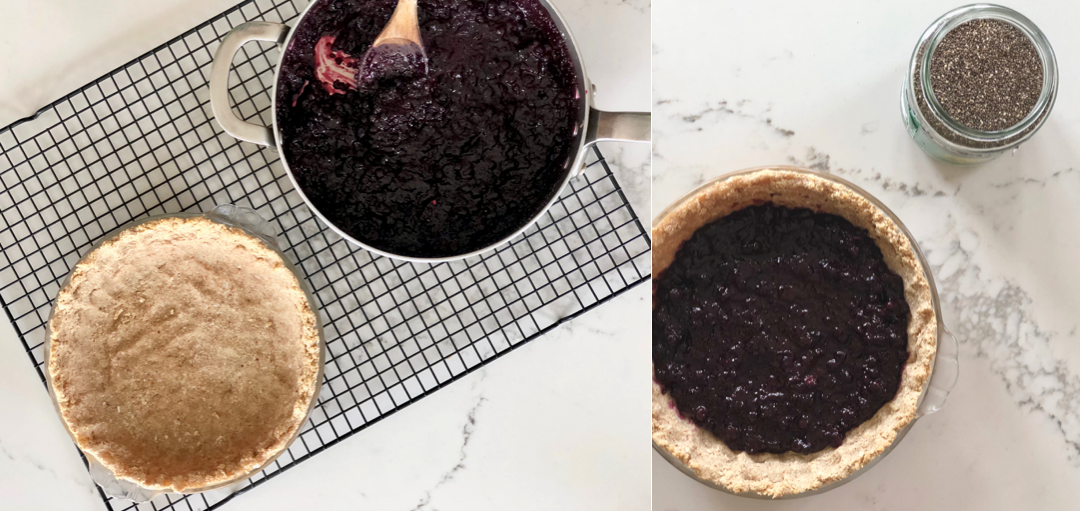
Below is my vegan version of one of my favourite desserts, coconut-cream pie. I found all organic/vegan ingredients at my local health-food store. This pie is made in three layers and despite the three steps, it’s actually quite simple to make. The coconut taste is very strong, so you really need to be a coconut fan to enjoy this!
Ingredients:
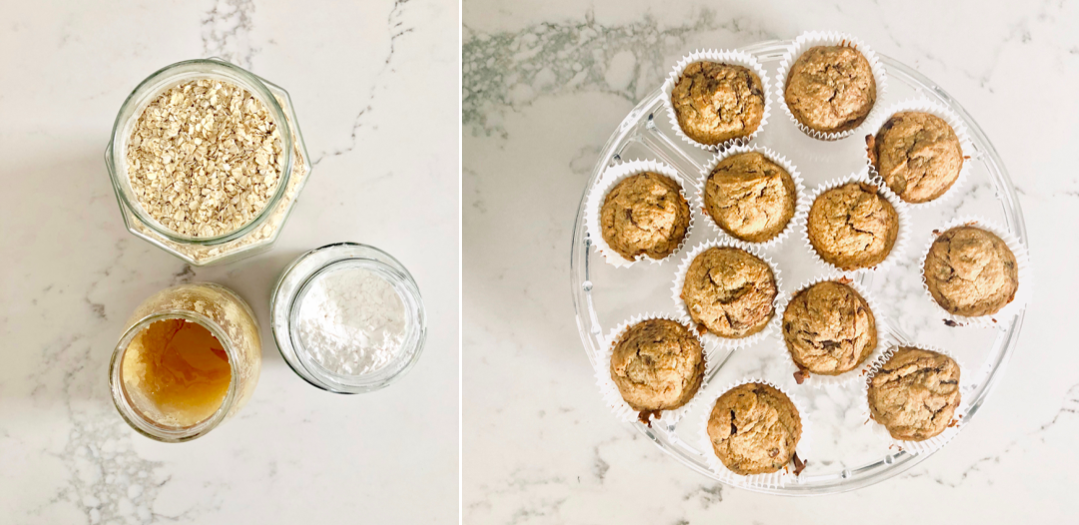
- organic rolled or quick oats
- natural almonds
- coconut butter not oil (please read directions on the jar on how to mix contents before use)
- fine himalayan sea salt
- water
- maple syrup (honey/coconut sugar may be used in replacement)
- 1 can organic coconut-MILK
- 1 can organic coconut-CREAM (please be sure to refrigerate this the night before along with your mixing bowl)
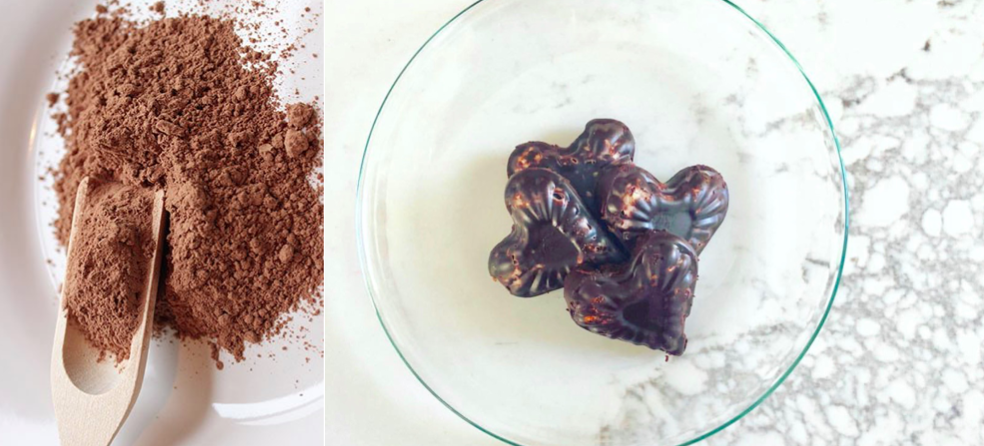
- organic cornstarch
- organic icing-sugar
- unsweetened coconut flakes
Directions for crust: (used Kitchen Aid 3.5 cup mini-chopper)
- blend 1 cup oats and 1 cup almonds into a flour
- add pinch of salt
- add 3 tbs coconut-butter
- 2 tbs honey or pure maple-syrup
- 4 tbs water
- press the ‘puree’ option and blend until dough begins to form and stick together
- using your fingers, press dough into a 9″ round glass pie plate and bake for 10min. @350f and set aside to cool
Directions f0r filling: (used Kitchen Aid hand-blender)
- pour 1 can organic coconut-milk into a pot on your stove-top over medium heat
- add 1/4 cup of EITHER pure maple-syrup/honey/coconut-sugar (please note that the maple-syrup or coconut-sugar will darken the colour of your filling)
- add 1 tsp organic vanilla extract
- using the hand-blender, begin blending
- slowly add 3 tbs of organic cornstarch (one at a time) while continuing to blend until contents is well mixed
- let mixture cook for 4 minutes max.
- you may pour mixture into another bowl OR over your already baked crust. Cover and refrigerate for 2 hours or more until hardened.
Directions for Topping: (using the Kitchen Aid hand-mixer)
- upon opening the coconut cream (that was refrigerated from the night before) dispose any liquid
- place the remaining cream into your cold mixing bowl and add 1/2 tsp vanilla extract
- using a sifter, begin to add icing sugar while using your hand-mixer to whip the cream
- please note: the amount of sugar used is to taste (1/4- 1/2 cup is sufficiently sweet)
- once a thick cream is formed, slather over your pie
- sprinkle with a desired amount of coconut-flakes
- keep pie refrigerated until ready-to-serve
Disclaimer: My opinion of these products are my own and in no way affiliated with either TSC or Kitchen Aid.